Step 1 -Make sure the balls are clean, and correct. If they are the wrong size (10mm /12mm) they will not work. Also NEVER use rusty or dirty balls!
There are two channels for glass or plastic. What ever you have should be on the inner channel (closest to the playing field). Originally, there was either a insert (near the field) of glass, or plastic, and then a second outer layer of plastic (or again..) glass.. not sure.. But I would assume glass. Plexi from that time would yellow, and scratch too easily. However, if you are planning to install or play the machine with small children, Plexi may be safer.
See the Where to get parts, machines, balls, and owners guides page for sizes and more glass details.
"I duuno, it was my father in laws game, and he's been dead for 20 years…"
Ahh, does it work? Well, you need to break the machine down into its basic areas;
Service can is broken up into the following areas;
Front Side
- Ball Launching, Ball Ejecting, Ball Loading,
Ball Ramping, Pins, Spinners, "Feature" Pocket,
Winning
Pockets, Losing Ball Return, Oh yea, and the ash tray!
Inside
Ball Loader
Rear Side -Lights and Switches
"Winner Light", "Ball T
ray Empty Light" Winning Ball Tray -
"Empty" lever, Ball Ramps,
Jackpot/Trigger, Winning Pockets, Ball dump lever,
Loosing
Ball Exit, Winning Ball Exit, Ball exit 1,Ball Launcher
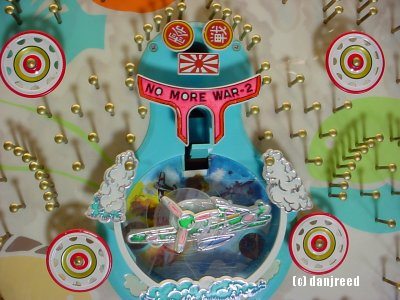
Main "Feature" Winning Pocket
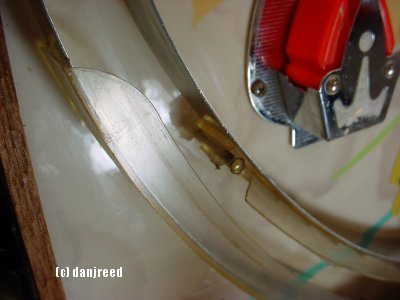
The Ball Ramp with proper plastic guides
copyright (C) Dan Reed
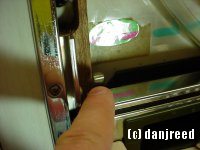
Loosing Ball Exit
Note: Some Doors "Swing Down", not out.
Press the two tabs and swing open the ball loader and inspect the ball loader (mine had some major carpet fuzz in it..)
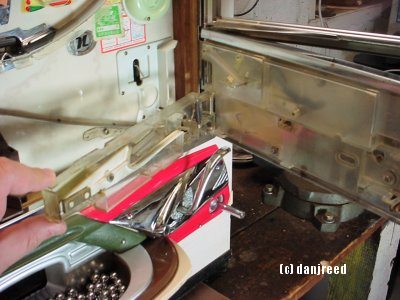
Opened
Closed
At this point you MAY add a DROP of motor oil to the bearings, and only the bearings on the laucher.
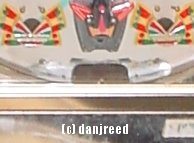
Ball Launcher
B - "Winning Pocket" Main attraction
C - Smaller "Winning Pockets" AKA Tulips and Pockets
D - Winning Ball Exit/Playing Tray - Where the winners balls exit from, and where the player places balls to play
E - Ball return - miss launched balls exit here
F - Flip out ash tray
G - "Winner" light - Lights up as balls exit to (D)
H - Cabinet Lock
I - "Winning Ball Tray - Empty" - Indicator - machine will not launch balls when this lever is down
J - Ball eject, takes balls from (D) and passes them to (E)
K - Ball Launcher
M - Finger Rest

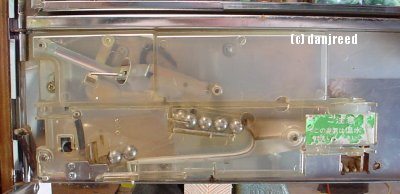
2 - Electrical switch for "Winning Ball Tray - Empty" Light
3 - "Winner" light - Lights up as balls exit (13)
4 - Linkage for "Winning Ball Tray - Empty" - Indicator (I)
5 - "Seesaw" - Takes the balls that have entered a winning pocket and sends them down to the ball exit 1 (7) - AKA the Regulator
6 - Reset pin for (5), Must have (5) in upwards position for game to operate
7 - Ball exit 1 - Balls that landed in a Winning Pocket (B, C) exit here.
8 - Backside of Ball Launcher
9 - Power hook up for lights (see electrical notes section)
10 - "Winning Ball Tray - Empty" Light
11 - Dump Ball Lever - Balls from (1) exit out to (16)
12 - Trigger for "Jackpot" - Weight of balls must be on lever for jackpot to function, and machine to work
13 - "Jackpot" - where the balls from (1) are stored before they are won my the player
14 - Electrical switch contacts for "Winner" light
15 - Latch for glass/plastic door to open
16 - "Loosing balls" and "Ball Dump" Exit.
