
How to Debadge (de-badge)
You'll need:
1 hour.
Shade
Soap, Bucket, Hose
Orbital Buffer and Pads
Dental Floss
Rags
Gloves
"Goof Off" or other type of grease/wax solvent
Clay Bar
Rubbing Compounds
2000 Grit Sandpaper and wood block
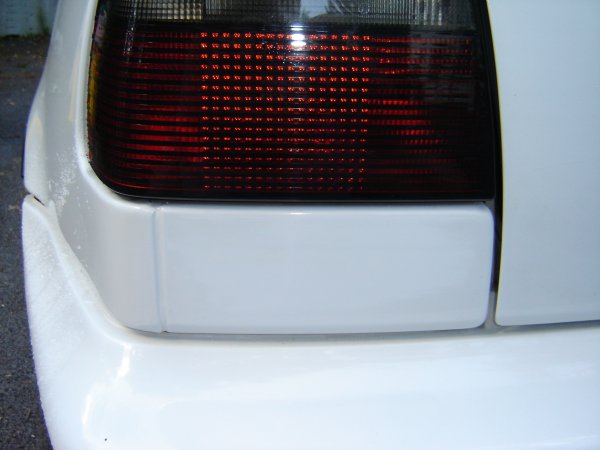
Step 1 - Start with a clean car. Here is the suspect. A 10 year old Golf III emblem
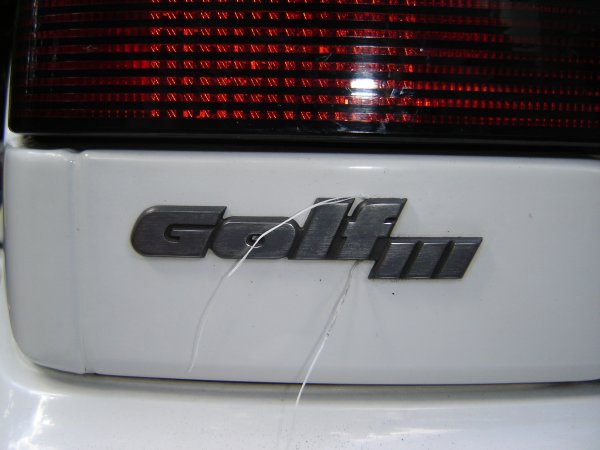
Step 2 - Dental Floss. Get "hard stuff" none of
that "Gore-text" feel good crap. Just plain wax based stuff
you may want to "loop" about 4 strands behind the emblem. "Saw" the emblem
off the car. Try to get as close
to the body as possible.
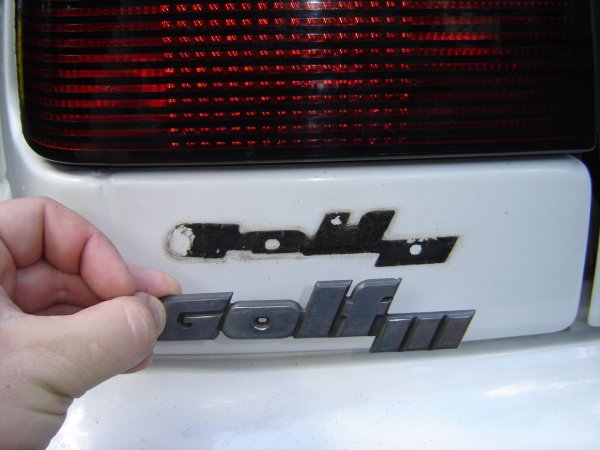
Step 3 - Save emblem for tool box or wall, or something else...
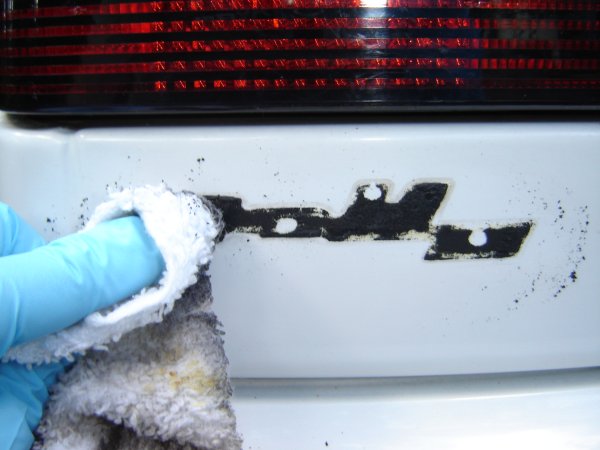
Step 4 - Use a rag and gloves to remove the old
adhesive. I used "Goof-Off". WD-40 or prep solv.
may also work as well.
Step 5 - More wiping. Let it soak for a few
seconds with a saturated surface. Make sure not to get any
on any hard plastic surfaces (like the tail light) it will destroy them.
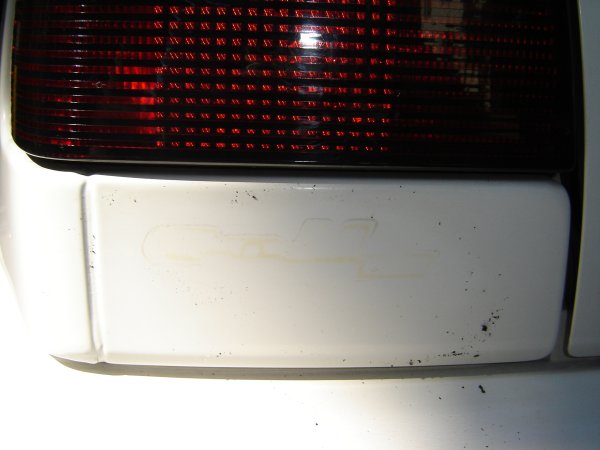
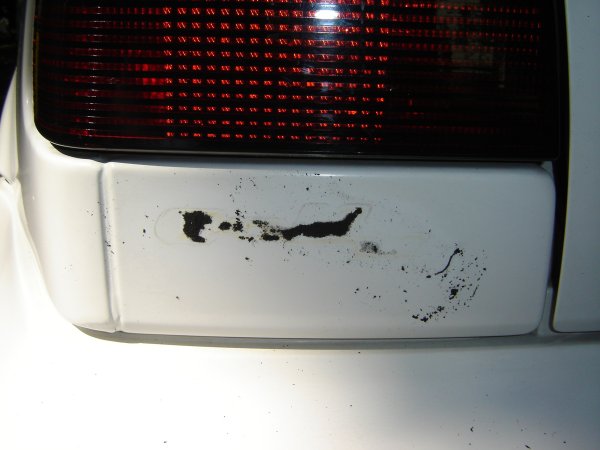
Step 6 - Final wipe down. Note yellow film.
Step 7 - Using a clay bar, scrub the body as best as you can.
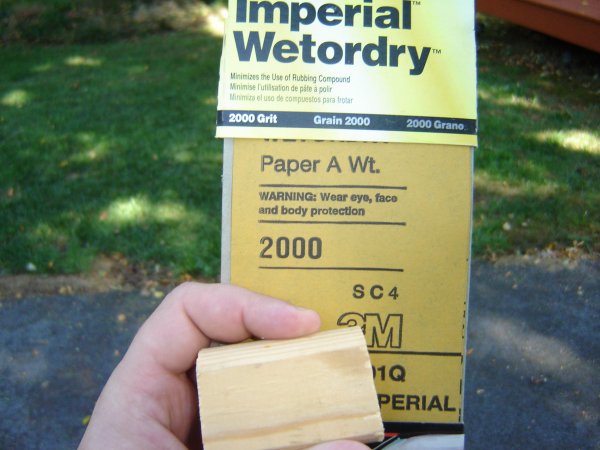
Step 8 - 2000 Grit Wet/Dry sandpaper and a sanding block
Step 9 - Lightly wet sand the surface until the yellow glue is gone. Do not sand more than you have to.
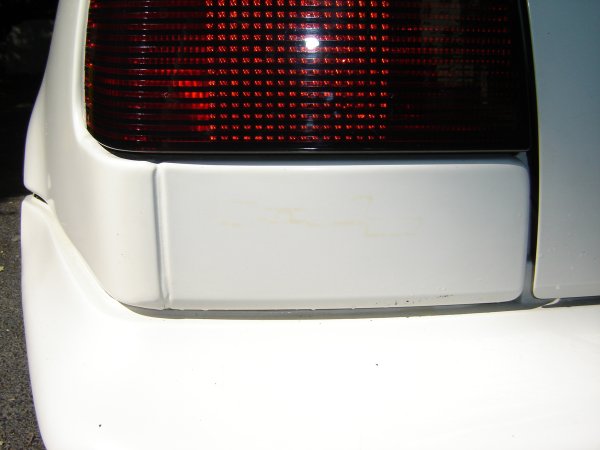
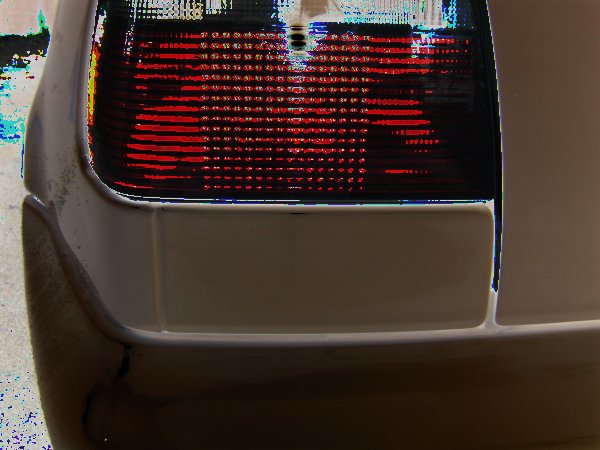 Inverted photo to show sanded area... note darker oval
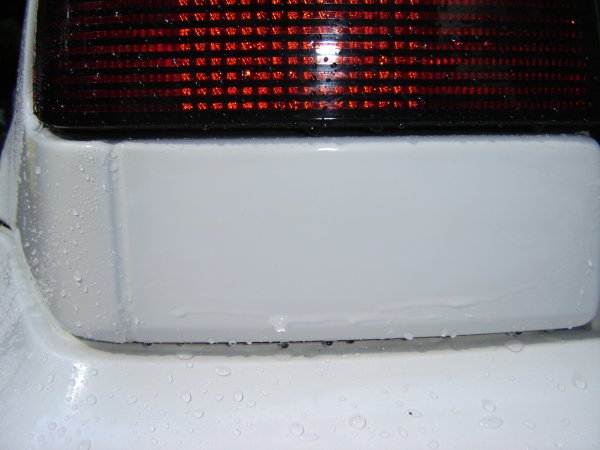
Step 10 - After Wet sanding. Wipe car down. Note very light scratches on surface from 2000 grit
Step 11 - Buffing. Start with a harsh buffing
compound, and work your way to the lightest.
I used a orbital buffer with a blue pad, and "Turtle Wax" rubbing compound
(Stock #T-230)
Red Label - then "Turtle Wax" polishing compound (Stock # T-241) Green
Label.
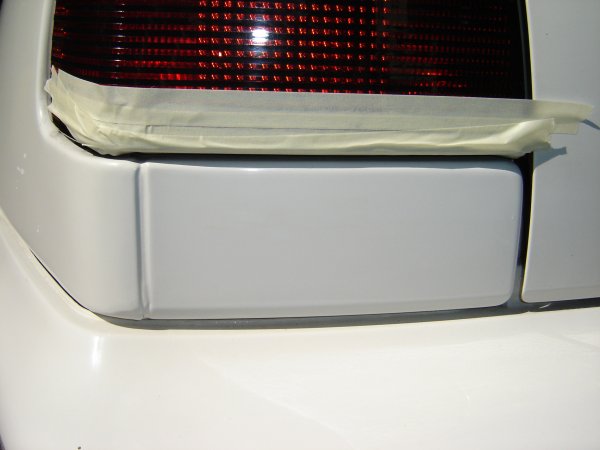
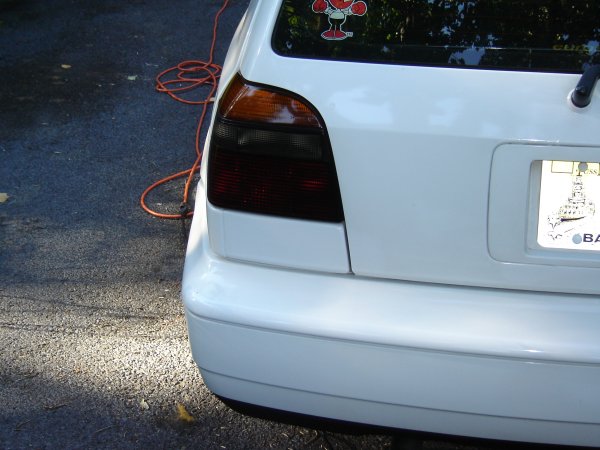
Finish up with A quality wax. The tape on the taillight is to protect it from the buffer.
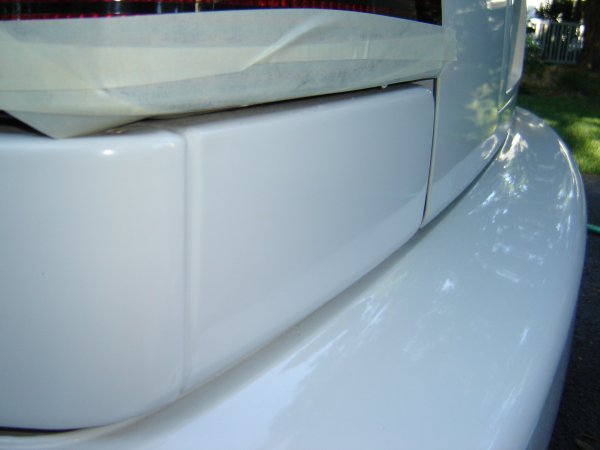
Step 12 - Finished. Mirror smooth.
Step 13 - Beer.